
Taxidermy Supplies and Kits: The Complete Beginner’s Guide
Taxidermy supplies fall into five groups: cutting and fleshing tools, preservatives and tanning chemicals, forms or manikins, glass eyes and finishing materials, and the mounting hardware that holds it all together. Get those five right and you can mount your first specimen; overspend on the wrong gear and you will waste money before you begin. This guide explains exactly what taxidermy supplies you need, what each one does, which to buy first, where to buy them, and how to avoid the mistakes that trip up almost every beginner.
Whether you want to try taxidermy as a hobby, preserve a hunting trophy, or simply understand the craft before you buy a finished piece, this is the complete reference. Let’s get into it.
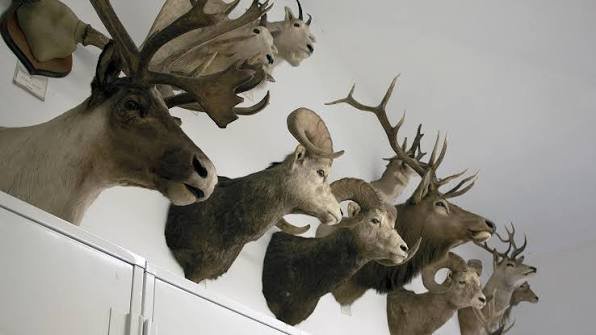
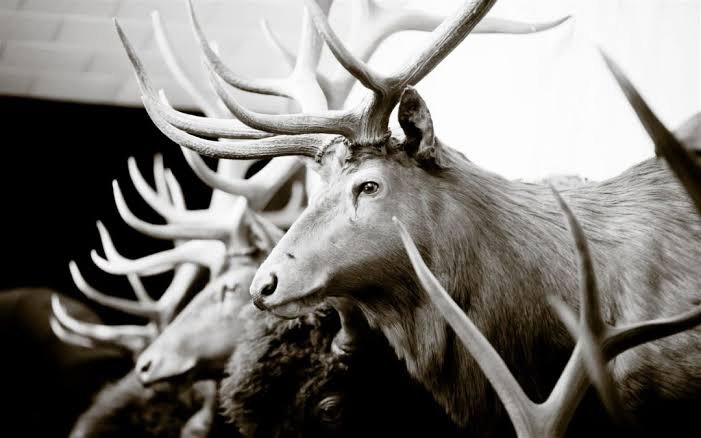
What taxidermy supplies do you actually need?
You need supplies from five categories to complete a basic mount: tools, preservatives, a form, eyes, and finishing materials. Everything else is an upgrade you can add once you know the craft, so a beginner should start with a short, focused list rather than a full professional catalogue.
Products by Category
-
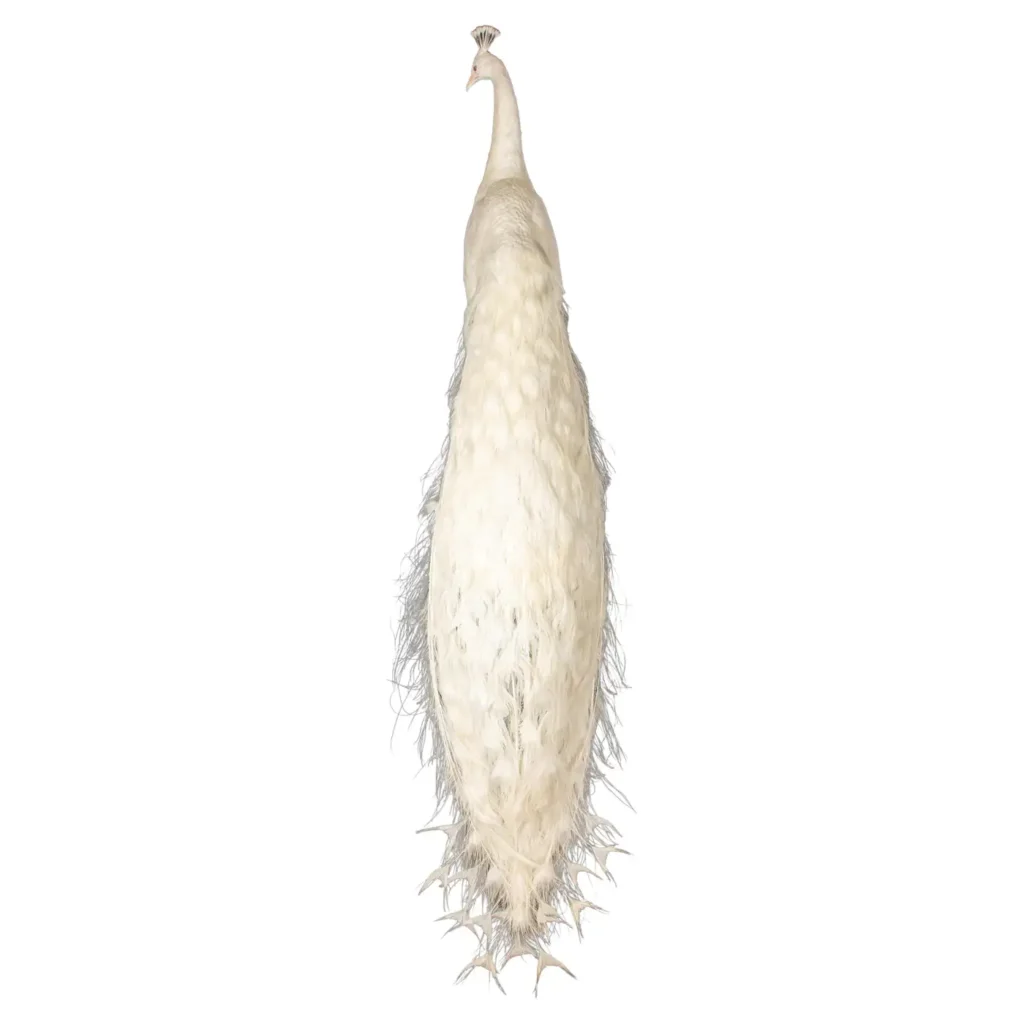
Albino (Leucistic) Peacock Display (Pavo cristatus, White)
-
Antique Arrau River Turtle Shell (Podocnemis expansa)
-
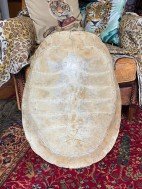
Antique Blonde River Turtle Shell (Carapace)
-
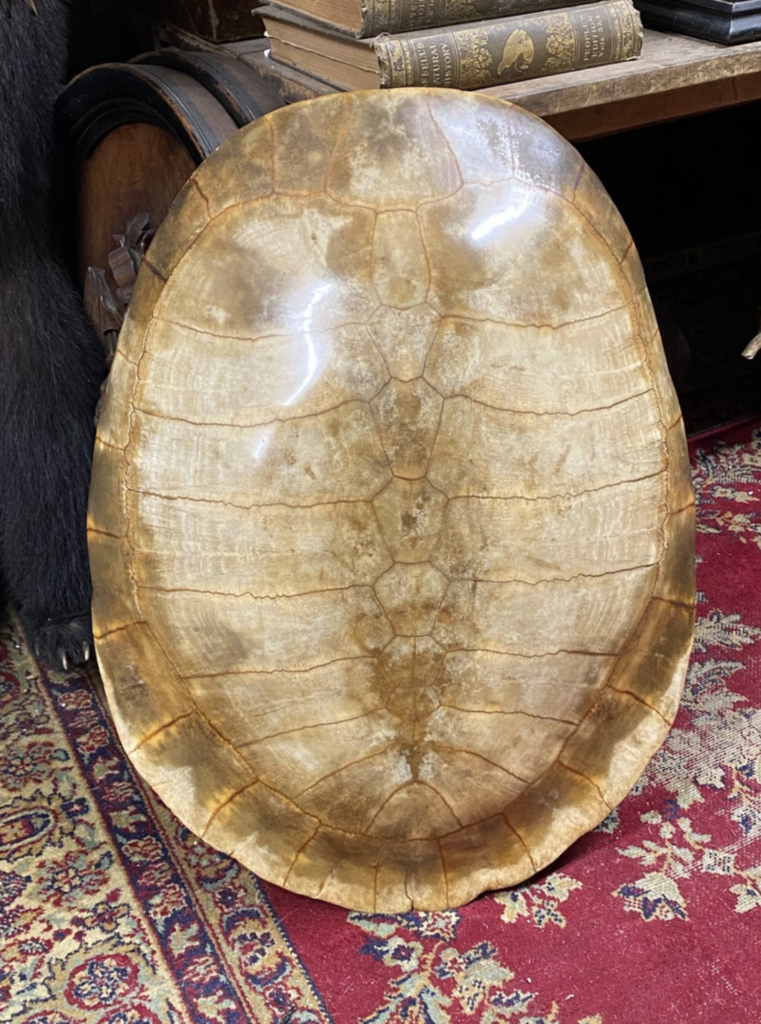
Antique Blonde Turtle Shell “Tartaruga” (Carapace)
-
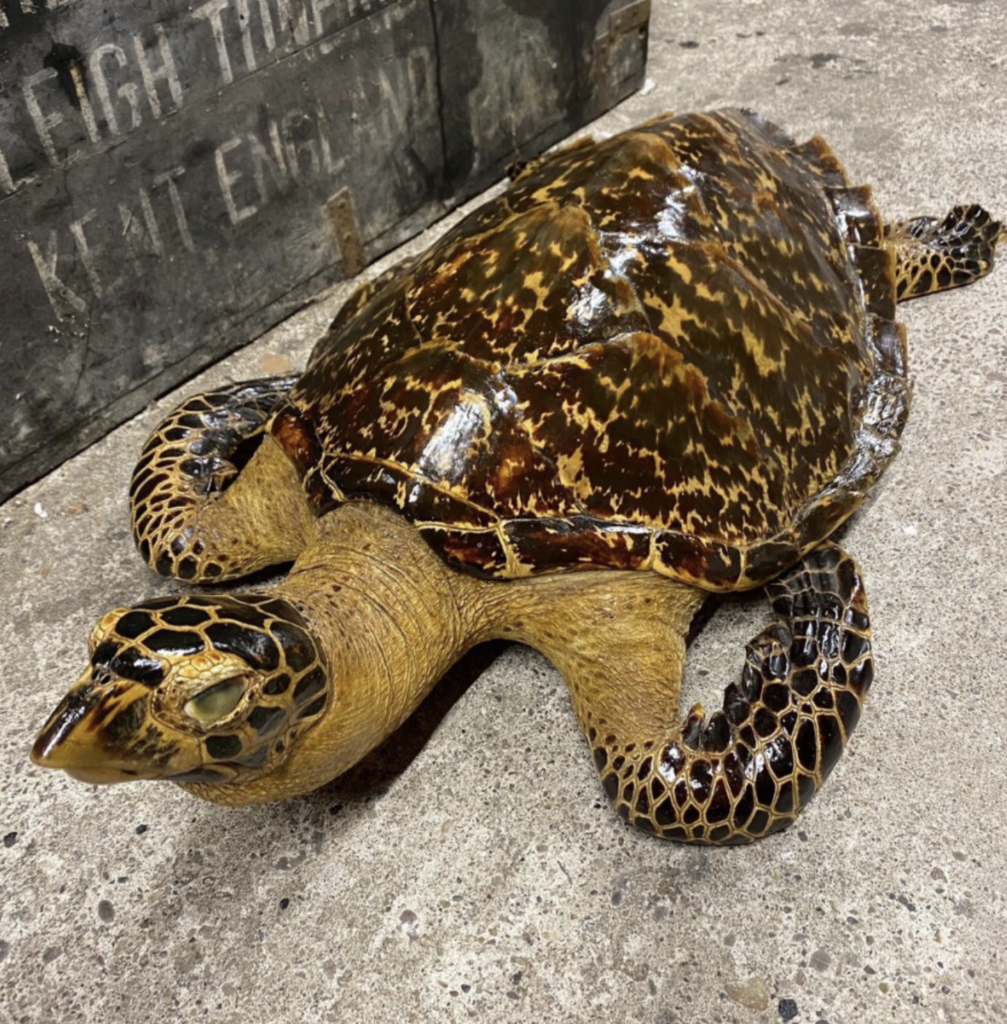
Antique Mounted Hawksbill Turtle (Eretmochelys imbricata)
-
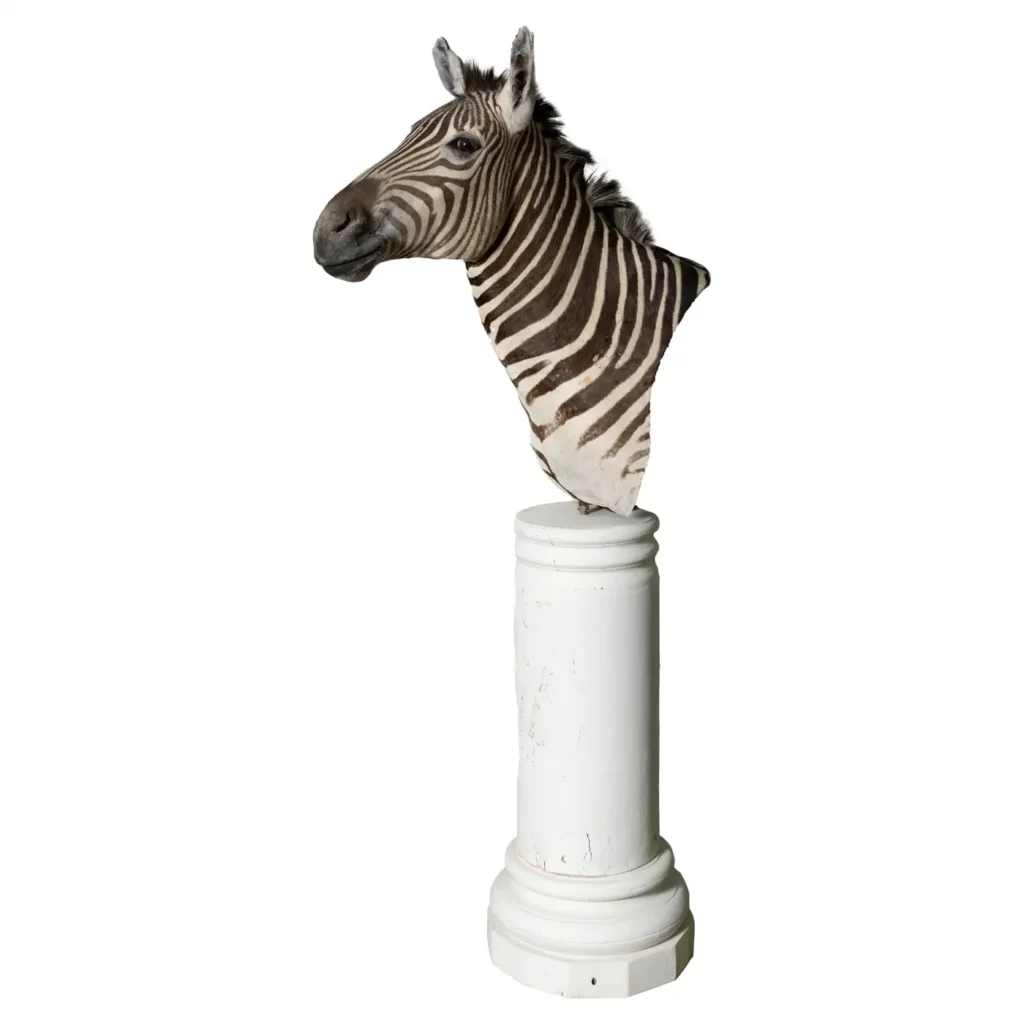
Burchell’s Zebra Premier Quality Shoulder Mount (Equus quagga burchellii)
-
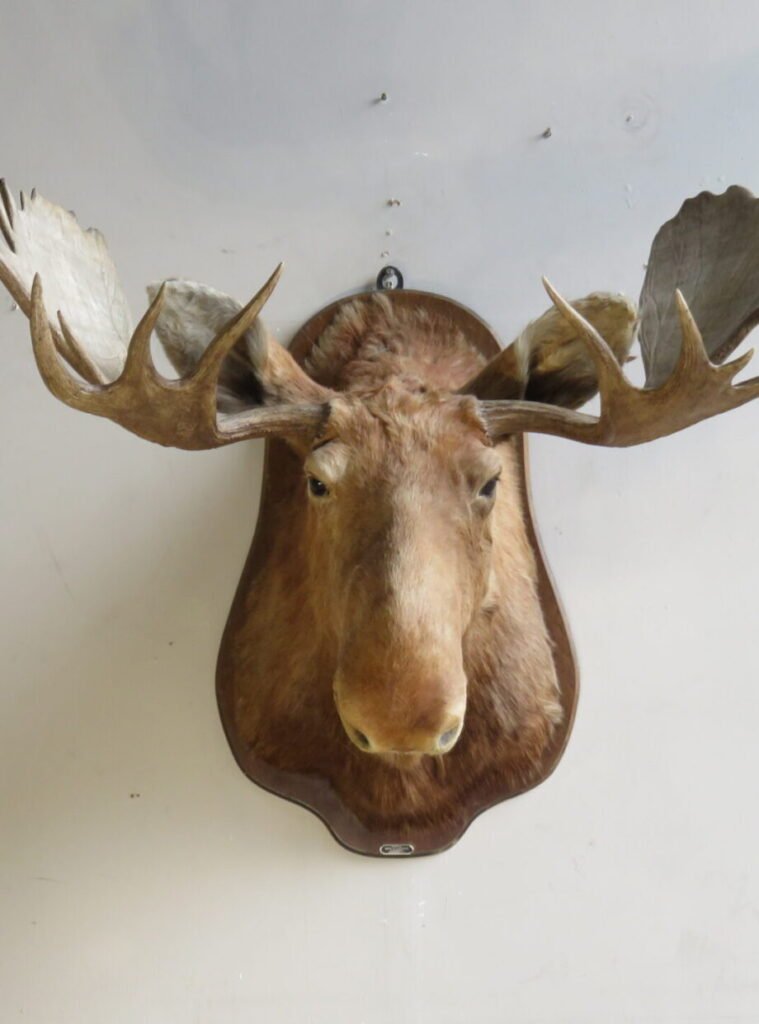
Canadian Moose Shoulder Mount, 49″ Rack (Alces alces)
-
Early 20th Century Blonde Turtle Shell (Antique Carapace)
-
Early 20th Century Blonde Turtle Shell (Antique Carapace)
The reason beginners overspend is simple: the big suppliers stock thousands of products, and it is easy to assume you need them all. You do not. Modern taxidermy is not “stuffing” an animal, despite the old image; it is preserving the skin and fitting it over a sculpted form, so your supplies are built around that process. If you want to understand the process itself before buying anything, read our guide on how taxidermy works, which explains each stage the supplies are used for. Below, each of the five categories is broken down so you know what does what.
Cutting and fleshing tools
Cutting and fleshing tools are the taxidermy supplies you will reach for first and the ones beginners waste the most money on. You need a small, sharp knife or scalpel for skinning, a fleshing tool for removing tissue from the hide, and little else to start.
A quality scalpel with replaceable blades handles the fine skinning work, while a double-sided fleshing tool (a blade edge and a spoon edge) removes the fat and flesh left on the skin. An ear opener helps you turn and clean the ears, one of the fiddliest steps. You do not need an expensive powered fleshing machine for your first mounts; those are a professional’s high-volume upgrade. Many essential taxidermy tools are borrowed from other trades: surgical tools, woodworking tools, and even upholstery tools all appear on experienced taxidermists’ benches. Fine-tipped tweezers, small scissors, a needle, and strong thread round out the basic cutting-and-stitching kit. Buy a few good tools rather than a big cheap set; sharpness and comfort matter far more than quantity.
Specialist tools worth adding later
Once you have finished a few mounts, a handful of specialist taxidermy tools genuinely improve your results and are worth adding as you progress. These are upgrades, not starting essentials, so add them when your skill has caught up with them.
A powered fleshing wheel or machine speeds up hide preparation dramatically and gives a cleaner, more even result, which is why professionals rely on one, but it is overkill for a first mount. A quality airbrush and compressor transform your finishing work, letting you restore natural color to noses, lips, and fins far more convincingly than a hand brush. Calipers give you the precise measurements needed to order the exact right form. A dedicated skiving knife thins hide edges for neater seams, and a proper taxidermy stand or vise frees both hands while you pose and stitch. A hair dryer or pet dryer helps groom fur and feathers as they dry. None of these is essential to complete a mount, but each removes friction from a step you will do again and again, so they pay off once you are past the beginner stage. Build the collection gradually as your skill and ambition grow, rather than buying it all at once.
Preservatives and tanning chemicals
Preservatives and tanning chemicals stop the skin from decaying, and they are the taxidermy supplies you cannot improvise or skip. The two common beginner routes are a simple borax-based dry preservative and a proper wet tan, and which you choose depends on the specimen and how durable you need the result.
For small mammals and birds, many beginners start with borax or a dry preservative powder, which is cheap, forgiving, and widely available. For larger mammals and anything you want to last for decades, a wet tanning process gives a stronger, more stable hide, using tanning chemicals such as those in the McKenzie or Van Dyke’s tanning systems. Tanning is the step professionals stress over most, because the quality of the tan largely determines the quality and lifespan of the finished mount. The chemistry mirrors traditional leather tanning. Suppliers like Van Dyke’s Taxidermy Supply and WASCO sell complete tanning kits with instructions, which is the safest way for a beginner to get consistent results. Always follow the safety guidance on tanning chemicals; some require care with ventilation and skin contact.
Forms and manikins
Forms, also called manikins, are the sculpted bodies the preserved skin is fitted over, and they are the heart of modern taxidermy supplies. You buy a form matched to your animal’s species and exact measurements, then mount the skin onto it, so getting the right form is what makes a mount look alive.
Forms are made of polyurethane foam and come in thousands of species, poses, and sizes, from a songbird to a full-size bear. The two big manufacturers, McKenzie Taxidermy Supply and Van Dyke’s Taxidermy Supply, between them stock forms for almost every North American, African, and exotic animal in shoulder-mount, life-size, half-life-size, and pedestal styles. The key skill is measuring your specimen accurately and ordering the form that matches; an oversized or undersized form is the most common cause of a poor mount. Beginners should start with a small mammal or bird form, where the measurements are forgiving, before attempting a large shoulder mount. For a sense of the different mount styles a form produces, see our guide to trophy mounts and, for the clean skull style, our European mount guide.
Glass eyes and finishing materials
Glass eyes and finishing materials are the taxidermy supplies that bring a mount to life, and they are where a careful beginner can make an ordinary mount look professional. You need a matched pair of glass eyes for your species, plus clay, epoxy, and paint for the fine detail work.
Glass eyes come in dozens of species-specific colors and sizes, and setting them correctly, at the right angle and depth, is one of the details that separates a lifelike mount from a lifeless one. Suppliers offer everything from budget eyes to competition-grade eyes with hand-painted detail. Around the eyes and nose you use modelling clay or two-part epoxy to build up natural contours and fine airbrush or acrylic paints to restore the color that fades from noses, lips, and skin during preservation. Finishing materials also include the borax and degreasers used to clean and set fur and feathers. This stage rewards patience over expensive gear: good reference photos of the living animal matter more than the most costly paint set.
Mounting hardware and the workspace basics
Mounting hardware is the practical set of taxidermy supplies that assembles and displays the finished mount: wire, thread, pins, adhesives, and a base or plaque. These are inexpensive, and much of it you can source from a hardware shop rather than a specialist.
You will need support wire in two gauges (one for limbs or necks, one for structural support), strong thread or fishing line for stitching, T-pins and insect pins for holding fur and feathers while they dry, hot glue and super glue for bonding, and a mounting stand or vice to hold the piece as you work. A finished wooden plaque, panel, or pedestal base completes a wall or shelf mount. None of this is expensive, and a beginner can assemble most of the hardware from general suppliers, keeping the specialist budget for the forms, eyes, and tanning chemicals that genuinely need to be taxidermy-grade.
Taxidermy kits: the easiest way to start
A taxidermy kit bundles the core supplies into one box, and for a beginner it is the simplest, cheapest way to start without guessing what to buy. A good starter kit contains the tools and consumables you need for a first mount, though you usually add the species-specific form and eyes separately.
Kits vary, but most beginner taxidermy kits include a skinning knife or scalpel, a fleshing tool, an ear opener, tweezers, pins, thread and needles, borax or dry preservative, clay for eye-setting, wire and glue. Some also bundle a beginner-friendly instructional guide. What a kit usually does not include is the form and glass eyes, since those must match your specific animal, so expect to order those to suit your first specimen. Kits are sold by the major suppliers and by education-focused sellers who design them around learning. Here is what a typical beginner kit contains and what to look for:
| Kit item | Typical quantity | What to look for |
|---|---|---|
| Skinning knife or scalpel | 1 | Sharp out of the box, replaceable blades |
| Fleshing tool | 1-2 | Double-sided, blade and spoon edges |
| Ear opener | 1 | Sturdy, comfortable handle |
| Tweezers | 1-2 | Fine-tipped, stainless steel |
| Borax or dry preservative | Small tub | Beginner-safe, forgiving |
| Clay for eye-setting | Small pack | Non-hardening modelling clay |
| Wire, thread, pins | Assorted | Two wire gauges, strong thread |
| Instructional guide | 1 | Species-specific if possible |
A kit gets you started, but remember it is only half the supply list: you still add the form, the eyes, and the tanning chemicals for your specific specimen.
What beginners should buy first
If you are starting from scratch, buy a small starter kit, one species-appropriate form, a matched pair of glass eyes, and a simple tanning or preservative product, and nothing else until you have finished a mount. Master one small specimen before expanding your supplies.
The single most common beginner mistake is buying a large, expensive catalogue of supplies before completing a first mount. Resist it. A squirrel, a small bird, or a rabbit is the classic first project because the forms are forgiving, the skin is manageable, and the supplies are cheap. Once you have finished one, you will understand from experience which additional taxidermy tools and materials are worth adding for your next, larger project. Buying in that order, learning something small, then scaling up, saves money and frustration. For a realistic view of what all this costs, see our taxidermy cost guide, which breaks down supply and mounting prices.
Supplies by animal type
The taxidermy supplies you need shift with the animal, because birds, mammals, and fish are preserved differently. The core tools stay the same, but the forms, preservation approach, and finishing materials change with the specimen.
For birds, you need fine tools for delicate skin, wire to support the wings and neck, and careful feather handling; degreasing matters more than with mammals. For small mammals, a forgiving dry preservative or a light tan, a species form, and glass eyes cover most of the job. For large mammals and big game, proper wet tanning and an accurately measured shoulder or life-size form become essential, and the stakes (and cost) rise. For fish, taxidermy increasingly uses replica casts rather than the real skin, so the “supplies” are more about painting and finishing a blank than preserving a hide. If you are drawn to a particular animal, our category pages show finished examples of each: bird taxidermy, mammal mounts, and marine taxidermy.
Where to buy taxidermy supplies
The main taxidermy suppliers are McKenzie, Van Dyke’s, and WASCO, and most hobbyists mix them, buying specialist items from the big catalogues and general hardware from wherever is cheapest. Knowing who stocks what saves money and time.
McKenzie Taxidermy Supply has the largest selection, especially of forms and glass eyes, and is the industry’s default source. Van Dyke’s Taxidermy Supply is a long-established supplier (now part of the same group as McKenzie) known for a broad catalogue and tanning systems. WASCO, the Wildlife Artist Supply Company, is another major supplier with forms, tools, and starter kits. Beyond the specialists, many taxidermists buy consumables like borax, glue, wire, and basic hand tools from general retailers, since they are identical and cheaper there. For anyone searching “taxidermy supplies near me,” the reality is that the trade is largely mail-order: the specialist stocks from these national suppliers rather than sitting on a local shelf, so plan to order the forms, eyes, and chemicals online.
Here is a quick comparison of the main routes:
| Source | Best for | Notes |
|---|---|---|
| McKenzie | Forms, glass eyes, full range | Largest catalogue, industry standard |
| Van Dyke’s | Tanning kits, broad range | Established, strong technical support |
| WASCO | Forms, tools, starter kits | Major supplier, beginner options |
| General retailers | Borax, glue, wire, hand tools | Cheaper for non-specialist consumables |
How to save money on taxidermy supplies
You save the most on taxidermy supplies by buying specialist items from the trade and everyday consumables from general retailers and by not overbuying before you have the skill to use them. Smart sourcing cuts the cost of starting significantly.
The forms, glass eyes, and tanning chemicals genuinely need to be taxidermy-grade, so buy those from McKenzie, Van Dyke’s, or WASCO. But borax, dish soap, wire, glue, pins, needles, gloves, and basic hand tools are identical whether they carry a taxidermy label or not and are cheaper from a hardware shop or general online retailer. Buying a single starter kit rather than assembling a large catalogue piece by piece also saves money at the start. Experienced taxidermists often buy used tools from others leaving the hobby, and some resell their own once they have upgraded. Finally, starting on a small, cheap specimen means your early mistakes cost little, the most underrated saving of all. For a full breakdown of what supplies and mounting actually cost, see our taxidermy cost guide.
Your first project: a simple supply walkthrough
For a first mount, a short, specific supply list built around one small specimen beats any large kit, because it teaches you what each item does in context. A squirrel, rabbit, or small bird is the classic first project.
Here is the realistic supply list for a first small-mammal mount: a scalpel with spare blades, a double-sided fleshing tool, fine tweezers, small scissors, borax or a beginner dry preservative, a species-matched form ordered to your measurements, a matched pair of glass eyes, modelling clay for setting the eyes, support wire, strong thread and a needle, pins for holding the fur while it dries, and a small base or plaque. That list will complete the mount without waste. Work slowly, take reference photos of the living animal before you start, and expect your first attempt to teach you more than any guide can. Understanding how taxidermy works step by step before you begin makes that first project far less daunting and the result far better.
Setting up your taxidermy workspace
A taxidermy workspace needs good light, a wipe-clean surface, ventilation, and somewhere to control smell and mess, and it should be separate from your kitchen or living space. You do not need a dedicated studio to start, but you do need the right basic conditions.
Work on a solid, non-porous bench you can disinfect under bright, preferably daylight-balanced light so you can see fine detail and match colors. Ventilation matters once you are using tanning chemicals or degreasers, so a garage, shed, or utility room with airflow is ideal. Keep a freezer available, since specimens are often frozen before and between work sessions. Store sharp tools safely and chemicals out of reach of children and pets, and keep the space away from where food is prepared. A tidy, well-lit, ventilated corner of a garage is a perfectly good first taxidermy workspace.
Storing and maintaining your supplies
Taxidermy supplies last longer and work better when stored properly, and a little maintenance protects both your investment and your results. Tools, chemicals, and consumables each need slightly different care.
Keep knives, scalpels, and fleshing tools clean, dry, and sharp, wiping them down after every session so they do not rust or dull, and store blades safely. Tanning chemicals and preservatives should be kept in sealed containers, clearly labelled, out of direct sun and away from children and pets; check the shelf life, as some tanning products degrade over time. Glass eyes are best kept in their labelled packets so pairs stay matched and sizes do not get confused. Store foam forms flat and undamaged, since a dented manikin is hard to correct once you are mounting on it. Keep borax and powders dry and sealed against moisture. Good storage is quietly one of the best money-savers in taxidermy, because supplies you look after do not need replacing.
Common beginner mistakes to avoid
Most beginner taxidermy failures come from a short list of avoidable mistakes, and knowing them in advance saves a specimen and a lot of money. The biggest are overspending, rushing the preservation, and choosing the wrong form.
- Overspending before you start. Buying a huge supply catalogue before finishing a first mount is the classic error. Start small.
- Skipping or rushing the tan. Poor preservation is the number one cause of a mount that rots, slips, or spoils. The tan is not the step to hurry.
- Ordering the wrong form. An ill-fitting manikin ruins an otherwise good skin. Measure carefully and match the form to the animal.
- Using dull tools. Blunt knives tear skin and cause slips. Keep blades sharp and replace them.
- Poor degreasing. Grease left in skin or bone yellows and smells over time. Degrease thoroughly.
- No reference photos. Working without good photos of the living animal produces an unnatural pose and color. Always work from reference.
Avoid these six, and your first mount stands a real chance of looking good. For keeping a finished mount in good condition afterwards, see our taxidermy care guide.
The law and ethics before you begin
Before you buy any taxidermy supplies, check the law, because it is legal to practice taxidermy on most common species, but several are protected and cannot be taken, possessed, or mounted without permits. The rules depend on the species and where you live.
Many migratory birds, birds of prey, and protected or endangered mammals are covered by national and international law, and mounting one you are not permitted to possess can be an offense regardless of how it died. Common game animals and legally taken species are generally fine, but the responsibility is on you to know the status of your specimen. This is also an ethical matter: responsible taxidermy uses animals that died naturally or were legally and humanely taken, never protected wildlife. Our guide on whether taxidermy is ethical covers responsible sourcing in full. When in doubt about a species, check with your local wildlife authority before you begin.
Should you buy supplies or buy a finished mount?
Here is the honest question worth asking before you spend anything on supplies: do you want to learn the craft, or do you simply want the finished piece? Buy supplies if the making is the point; buy a finished mount if the object is what you are really after.
Taxidermy is a genuine skill that takes real practice, time, workspace, and repeated attempts before your results look professional. That is deeply rewarding if the craft itself appeals to you. But if what you actually want is a beautiful specimen to display, a striking mount, a clean European skull, or a bird under a dome, then buying a finished, professionally made piece is faster and cheaper than the full supply outlay and gives you a result you can see before you buy. There is no wrong answer; it depends on what you are after. If it is the finished object, browse our collections of mammal mounts, bird taxidermy, and marine taxidermy, or the full taxidermy collection, each specimen ethically sourced and ready to display.
Frequently asked questions
What supplies do you need for taxidermy?
You need five categories of taxidermy supplies: cutting and fleshing tools, preservatives or tanning chemicals, a form or manikin matched to your animal, glass eyes and finishing materials, and mounting hardware. A beginner can start with a small kit plus one species-specific form and a matched pair of eyes.
How much do taxidermy supplies cost?
A quality beginner starter kit is a modest outlay, with forms, glass eyes, and tanning chemicals added per specimen. Costs rise with the size of the animal and the quality of the materials. Our taxidermy cost guide breaks down supply and mounting prices in detail.
What is the best taxidermy kit for beginners?
The best beginner kit is a small, complete starter kit that includes the core tools and consumables, paired with a forgiving first specimen like a squirrel, small bird, or rabbit. Remember you will add the species form and glass eyes separately, since those must match your animal.
Where can I buy taxidermy supplies?
The main suppliers are McKenzie, Van Dyke’s, and WASCO, which stock forms, glass eyes, tools, and tanning chemicals. Many hobbyists also buy consumables like borax, glue, and wire from general retailers, where they are cheaper. The trade is largely mail-order, so plan to order specialist supplies online.
Do you need to tan a hide for taxidermy?
For a durable, long-lasting mount, yes. Small specimens can be preserved with borax or a dry preservative, but larger mammals and anything meant to last need a proper wet tan. Poor preservation is the most common cause of a mount that spoils.
Is it legal to do taxidermy at home?
In most places you can practice taxidermy at home on common, legally obtained species. However, many birds and protected animals require permits, and some cannot be possessed at all. Always check the status of your specimen and your local law before you begin.
Is taxidermy hard for beginners?
It has a real learning curve, but a first small mount is achievable with patience, good reference photos, and the right supplies. Most beginners improve quickly after their first attempt. If you would rather have the finished result without the practice, buying a professionally made mount is the simpler route.
Start with the right supplies, or the right mount.
Taxidermy supplies come down to five categories: tools, preservatives, forms, eyes, and finishing materials, and the smart way to start is small: a starter kit, one matched form, a pair of eyes, and a forgiving first specimen. Buy in that order, learn the craft on something simple, and add supplies as your skill grows, and you will save money and get better results.
And if, after all this, you decide the finished piece matters more to you than the process, that is a perfectly good call. Browse our ethically sourced taxidermy collection, from mammal mounts to bird taxidermy and marine taxidermy, each ready to display and shipped worldwide in secure, insured packaging. To go deeper on the craft, read our complete guide to taxidermy and our guide on how taxidermy works. Questions? Message us on WhatsApp; we are happy to help.