
How to Clean Fossils: A Safe, Step-by-Step Guide
To clean a fossil safely, start with the gentlest method: a soft brush and water. Work up to stronger methods only if you must, and stop before you risk the specimen. Most fossils need far less cleaning than people think, and the fastest way to ruin a valuable fossil is to attack it with the wrong tool.
This guide shows you how to clean fossils properly: the tools that work, a step-by-step method from gentle to advanced, how to preserve a fossil after cleaning, and, just as important, when to stop and leave it to a professional. Let’s get into it.
Products by Category
-
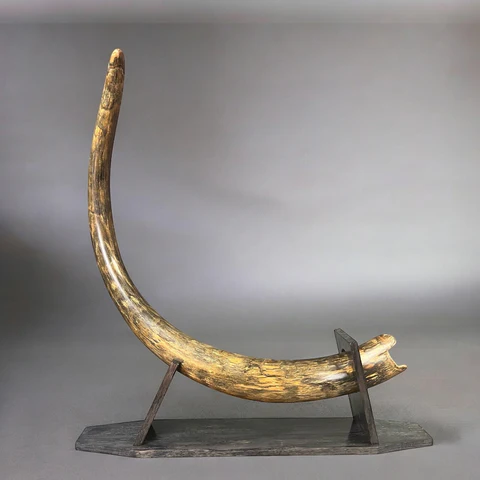
Fossilized Woolly Mammoth Tusk (Mammuthus primigenius, 64″)
-
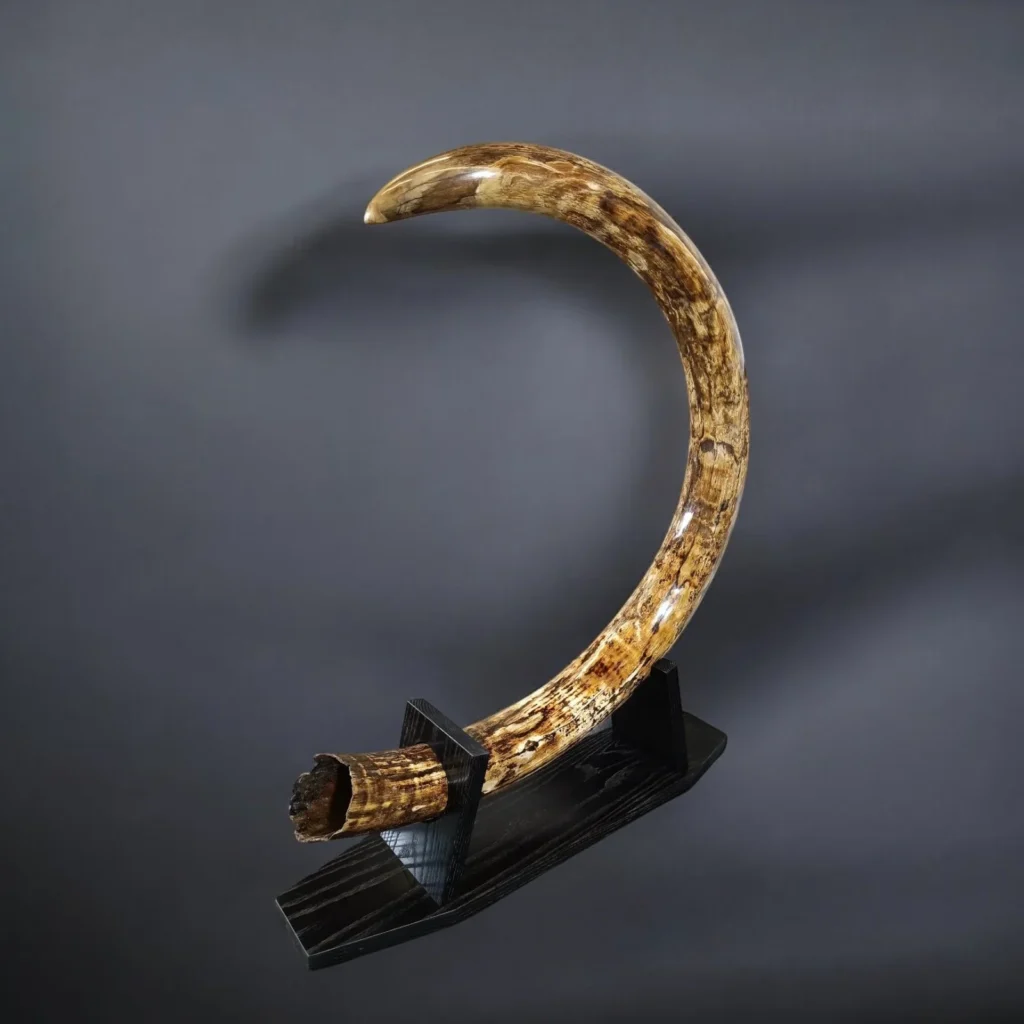
Large Woolly Mammoth Tusk (Mammuthus primigenius, 9′ / 100 lbs)
-
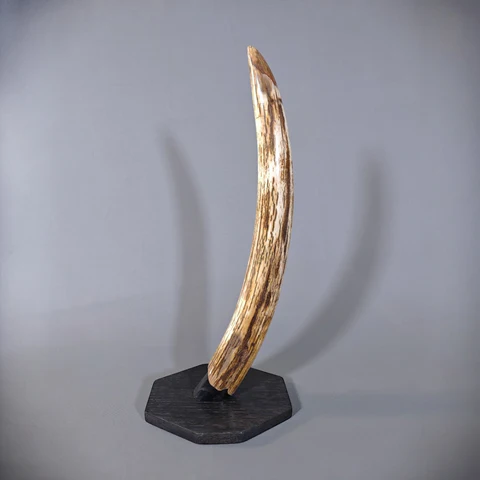
Woolly Mammoth Ivory Tusk (Mammuthus primigenius, 23.5″)
-
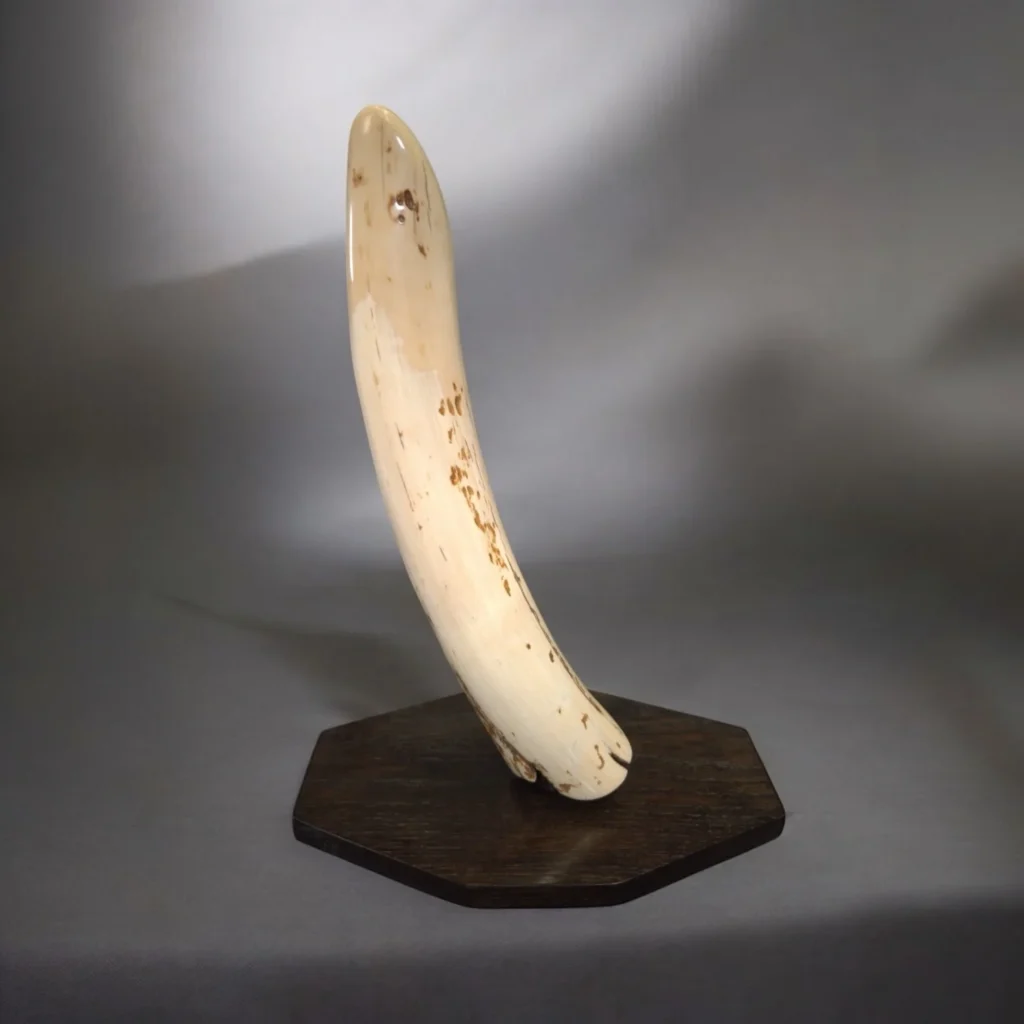
Woolly Mammoth Tusk (Mammuthus primigenius, 18″)
-
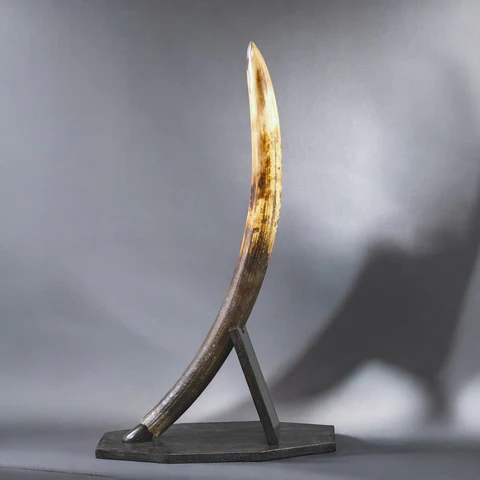
Woolly Mammoth Tusk (Mammuthus primigenius, 32.5″)
-
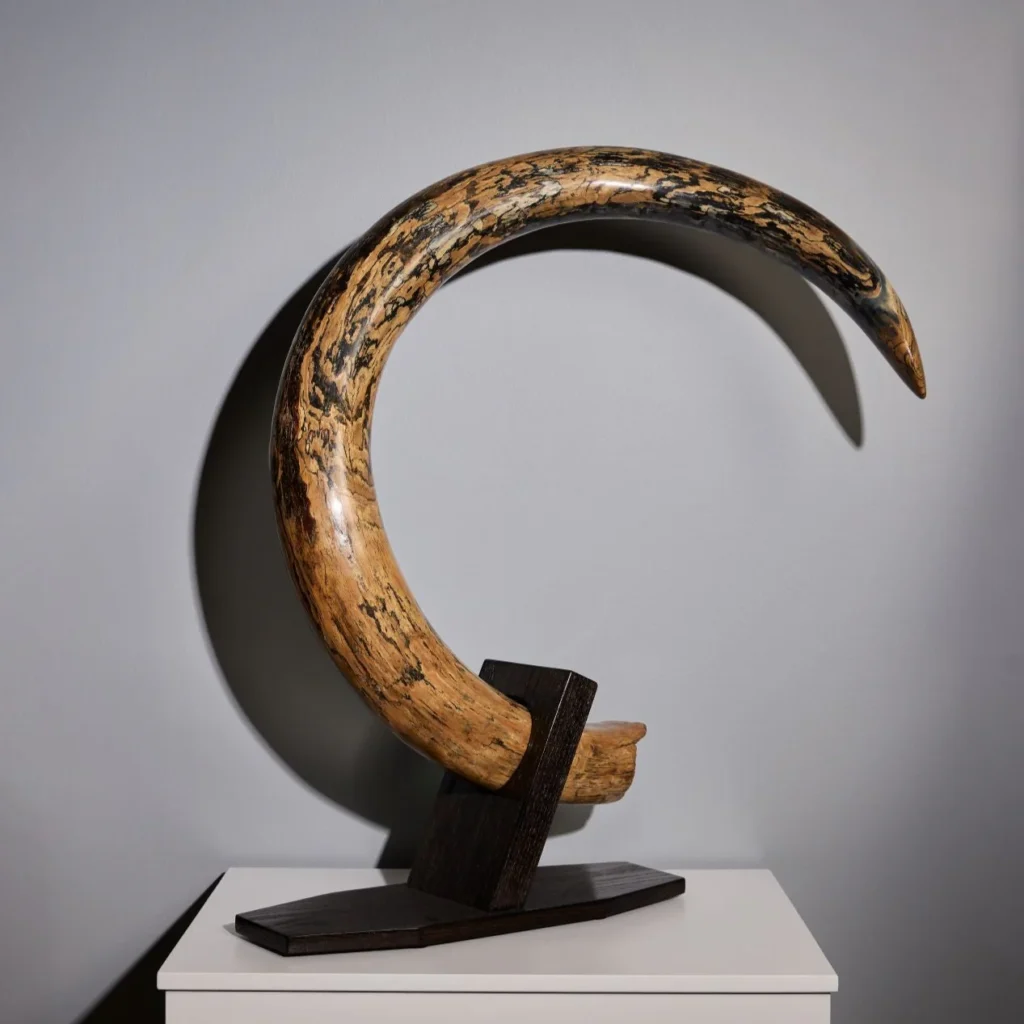
Woolly Mammoth Tusk (Mammuthus primigenius, 69″)
-
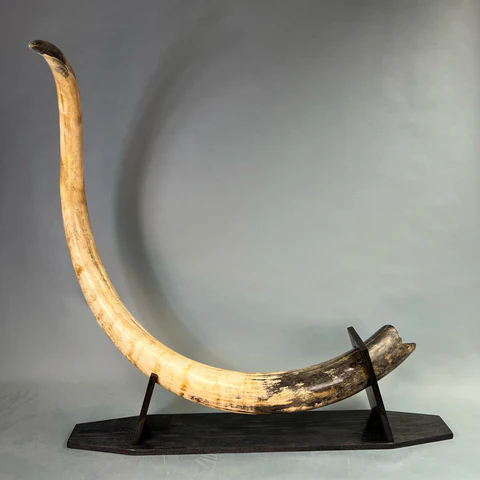
Woolly Mammoth Tusk (Mammuthus primigenius, 7′ 6″)
-
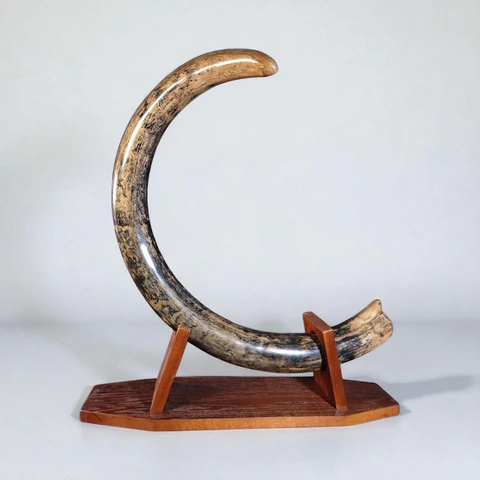
Woolly Mammoth Tusk (Mammuthus primigenius, 8′ / 86 lbs)
-
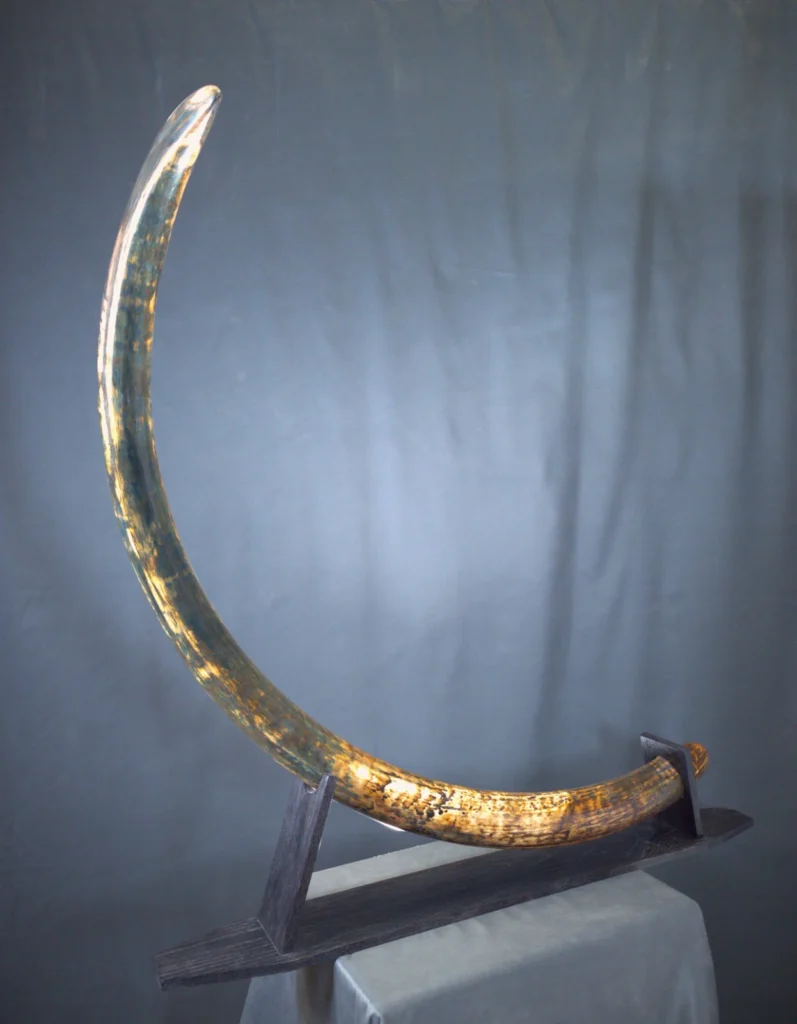
Woolly Mammoth Tusk (Mammuthus primigenius, 8′ 2″)
How do you clean a fossil safely?
You clean a fossil safely by starting gentle, testing on a small area, and stopping the moment you risk damage. The golden rule of fossil cleaning is that you can always do more, but you can never undo harm.
Begin with the least aggressive approach that might work: a soft brush and clean water. Only move to stiffer brushes, tools, or chemicals if the gentle method is not enough, and only after you understand what your fossil is made of and how fragile it is. Test any new method on a small, hidden area first. And keep asking whether the cleaning is worth the risk, because a fossil covered in a little matrix is worth far more intact than a “clean” fossil that has been scratched, cracked or dissolved. Patience is the single most important tool in fossil cleaning.
Should you even clean your fossil?
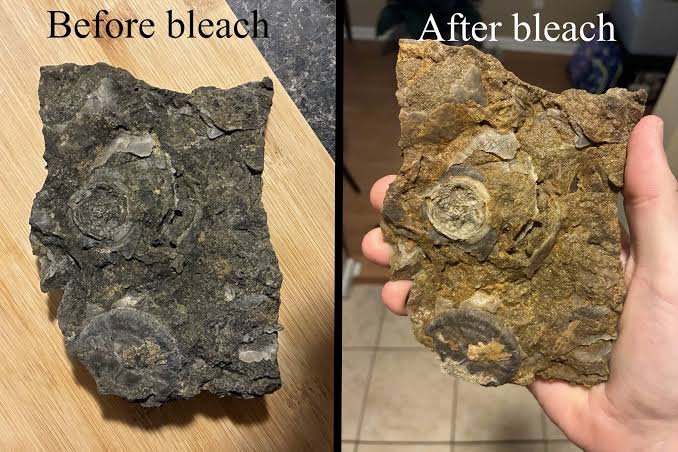
Often, the right answer is to clean very little or not at all, because over-cleaning destroys more fossils than dirt ever does. Before you start, decide how much cleaning the fossil actually needs.
A fossil with light surface dust needs only a soft brush. A fossil partly embedded in rock (matrix) may look better with some matrix removed, but that is delicate work, and the matrix sometimes protects and supports the specimen. A fragile or valuable fossil may be worth leaving almost as found, since collectors and museums often prefer an honest, uncleaned specimen to an over-worked one. Ask yourself: is the dirt actually hiding the fossil, or am I cleaning for the sake of it? If the specimen already shows its features, gentle dusting is all it needs. Save aggressive cleaning for cases where it genuinely reveals the fossil, and even then, proceed carefully.
Fossil cleaning tools: what you actually need
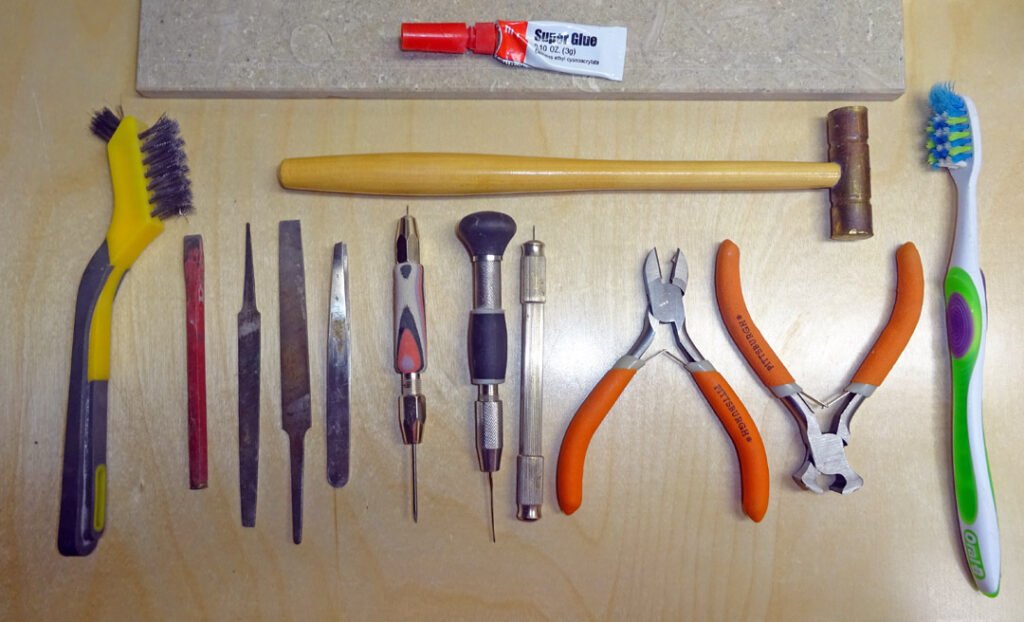
The core fossil cleaning tools are soft brushes, water, wooden or plastic picks, and patience. You only need specialist fossil preparation tools for hard matrix and advanced work, and those carry real risk. Here is the honest tool list.
For everyday cleaning, you need very little:
- Soft brushes: a soft paintbrush or toothbrush for dust and loose dirt. The most-used tool of all.
- Clean water: for rinsing sturdy, non-porous fossils. Not for porous or crumbly ones.
- Wooden or plastic picks: for easing off soft dirt without scratching. Safer than metal.
- Soft cloth: for gentle drying.
- A toothbrush: for working dust out of texture and ridges.
For harder jobs, the specialist fossil preparation tools include dental picks, air scribes (tiny air-powered chisels), air abrasive units, and, in some cases, acids. These are powerful and they remove hard matrix, but they also destroy fossils fast in inexperienced hands. Treat this second list as advanced equipment, not beginner kit. If you find yourself reaching for an air scribe on a specimen you care about, it may be time to consult a professional preparator instead. Fossil preparation as a discipline is described well on Wikipedia’s fossil preparation page.
How to clean a fossil step by step
Here is the safe, step-by-step method for cleaning most fossils, working from gentlest to strongest and stopping as soon as the fossil looks right. Do not skip ahead to the aggressive steps.
- Dry brush. Start by brushing off loose dust and dirt with a soft, dry brush. For many fossils, this is all you need.
- Assess the fossil. Look at what it is made of and how sturdy it is. Porous, flaky or cracked fossils need extra care and little or no water.
- Test water on a hidden spot. If the fossil is sturdy and non-porous, dampen a small hidden area. If it holds up, you can rinse gently.
- Gentle wet clean. Using a soft brush and clean water, ease off dirt. Work in small areas. Do not soak a porous fossil.
- Soft picks for stubborn dirt. Use a wooden or plastic pick to lift off dirt the brush left, working away from the fossil surface, never gouging towards it.
- Dry slowly. Pat with a soft cloth and let the fossil air-dry slowly, out of direct heat and sun, which can crack it.
- Stop. Once the fossil shows its features, stop. Resist the urge to keep going.
That gentle sequence cleans the large majority of fossils safely. Anything beyond it, hard matrix, embedded specimens, valuable pieces, moves into professional territory, covered below.
How to clean a mammoth tusk or bone
Mammoth tusks, teeth and bones need especially gentle cleaning, because they are porous and can crack, flake or split if soaked or dried too fast. Treat them as fragile even when they look solid.
For a mammoth tusk, dry-brush loose dirt and avoid soaking, since water can penetrate the layered ivory structure and cause it to split as it dries. For a mammoth tooth, a soft brush lifts dust from the ridged grinding surface without harming the enamel; avoid prolonged wetting, which can loosen the plates. For bone, brush gently and keep water to a minimum. In all three cases, dry slowly and never near a radiator or in direct sun. If a mammoth tusk or bone is flaking or unstable, it may need consolidation (covered next) rather than cleaning, and a valuable specimen is worth showing to a professional before you touch it. Our complete woolly mammoth guide and mammoth skull guide cover the specimens themselves.
How to clean different types of fossils
Different fossils need different cleaning, because a hard, non-porous shark tooth and a porous, flaky piece of bone behave completely differently in water. Here is how to approach the fossils you are most likely to own.
Shark teeth and hard teeth are usually sturdy and non-porous, so they tolerate a gentle wash with a soft brush and water, then slow drying. Ammonites and hard shells often clean up well with a soft brush and careful water, though delicate ones need care. Mammoth teeth take a soft dry brush on the ridged surface and only minimal, cautious wetting, since heavy water can loosen the enamel plates. Mammoth tusk and ivory should stay nearly dry, dry-brushing only, because water splits layered ivory. Bone is porous and fragile, so brush gently and keep water to a minimum. Amber is soft and scratches easily, so clean it only with a soft cloth and mild soapy water, never abrasives. Petrified wood and hard stone fossils are the toughest and tolerate more vigorous cleaning.
Here is the quick guide:
| Fossil | Water? | Method |
|---|---|---|
| Shark teeth | Yes, gentle | Soft brush and water, dry slowly |
| Ammonite | Usually, careful | Soft brush and water |
| Mammoth tooth | Minimal | Dry brush, light wetting only |
| Mammoth tusk / ivory | No | Dry brush only |
| Bone | Minimal | Gentle dry brush, little water |
| Amber | Mild only | Soft cloth, mild soapy water |
| Petrified wood | Yes | Tolerates firmer cleaning |
The pattern is clear: hard, non-porous fossils tolerate water and cleaning, while porous, layered or soft fossils need a dry, gentle touch. When in doubt, treat a fossil as fragile.
Fossil cleaning safety
Fossil cleaning can involve dust, sharp tools and hazardous chemicals, so basic safety protects you as well as the specimen. The advanced methods in particular demand real precautions.
For gentle cleaning, the main risk is simply to the fossil, but even brushing off dry matrix can raise dust you should not breathe, so work in a ventilated space. Advanced preparation is where safety becomes serious: air abrasives and dry matrix removal create fine dust that needs a mask and eye protection, air scribes throw chips, and acid preparation involves corrosive chemicals that require gloves, eye protection, ventilation and careful handling and disposal. If a method needs safety equipment you do not have, that is a sign to stop and reconsider, or to hand the specimen to a professional who does. No fossil is worth an injury.
Products by Category
-
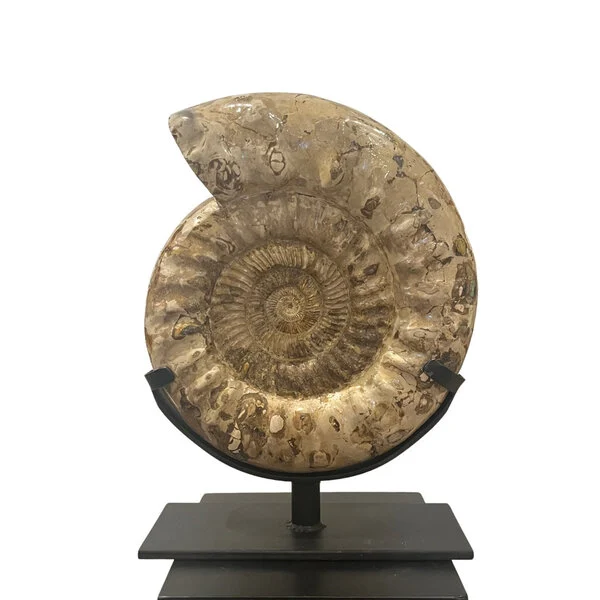
Ammonite XL on Stand (Ammonoidea, Polished Fossil)
-
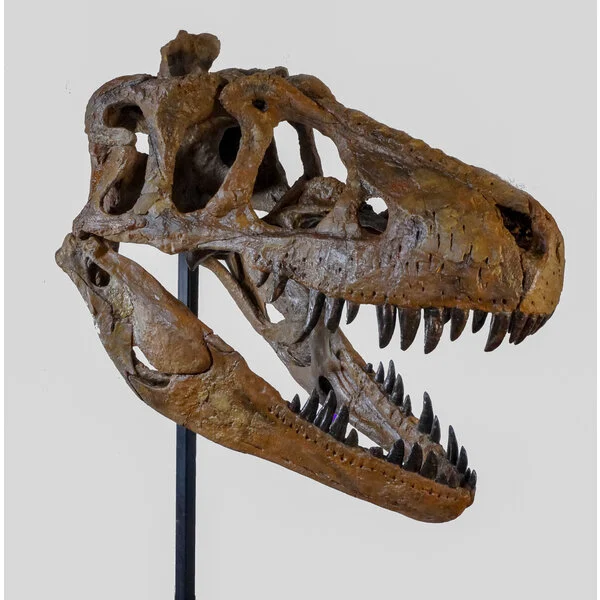
Daspletosaurus Skull (Daspletosaurus torosus, Museum Replica)
-
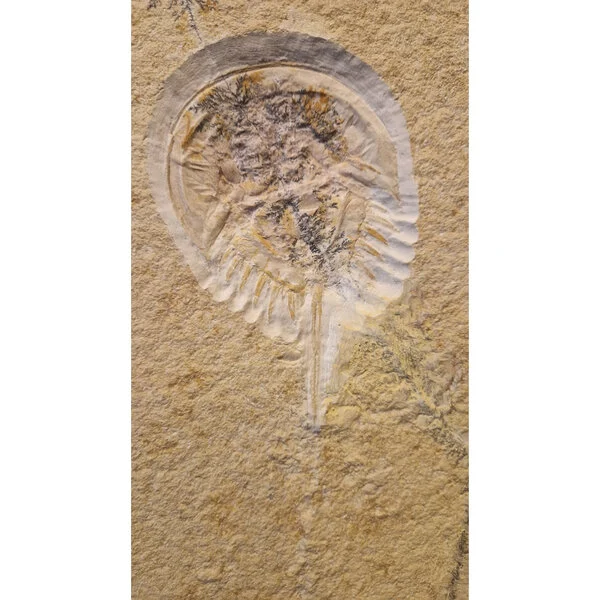
Fossil Sword Crab on Stand (Horseshoe Crab Fossil)
-
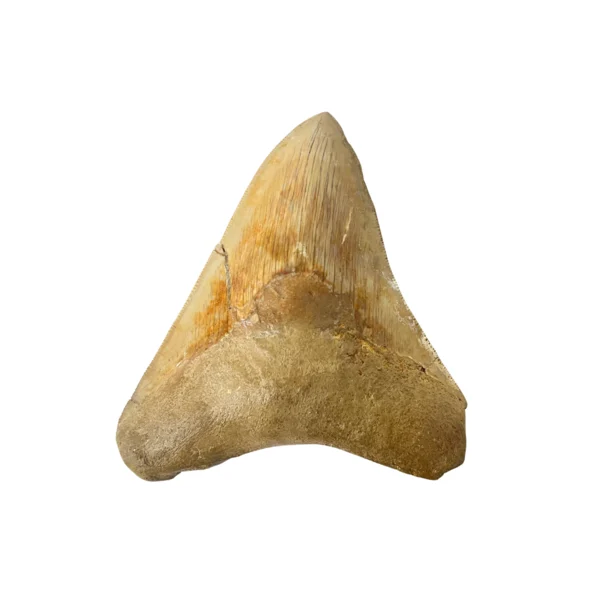
Large Megalodon Tooth (Otodus megalodon, Fossil)
-
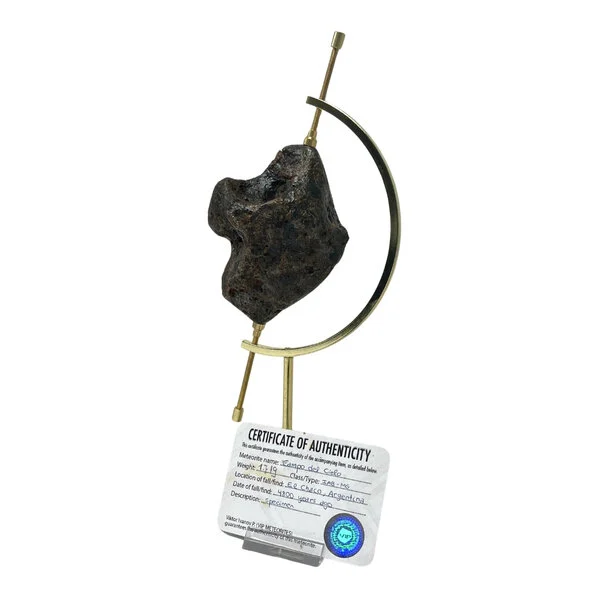
Meteorite XL (Iron/Stony Meteorite Specimen)
-
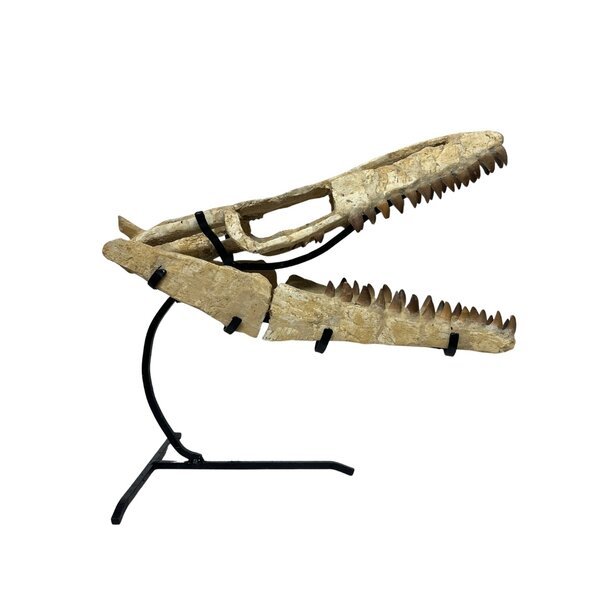
Mosasaurus Skull Reconstruction (Mosasaurus sp. Replica)
Preserving and stabilising a fossil
Preserving a fossil means stabilising fragile material so it does not crumble, usually with a consolidant, and storing it in stable conditions. Preservation matters more than cleaning for keeping a fossil intact long term.
A consolidant is a thin adhesive that soaks into fragile, flaky or crumbling fossil and hardens to hold it together. Professionals use specific reversible consolidants chosen for the material; hobbyists sometimes use dilute PVA or paraloid-type products. The key principles are to use a reversible consolidant where possible, apply it thin so it penetrates rather than coating the surface, and test first. Beyond consolidation, good storage does most of the preservation work: keep fossils dry, out of direct sun, away from big humidity swings, and cushioned so they do not knock together. A fossil that is stable and stored well will outlast one that was heavily cleaned but left in a damp garage. If a specimen is actively falling apart, stabilising it is far more urgent than making it look clean.
Fossil restoration: repairing damage
Fossil restoration means repairing breaks and filling gaps, and it should be done honestly, reversibly, and ideally by someone experienced. A well-restored fossil is stable and clearly documented; a badly restored one is damaged and misleading.
If a fossil breaks, the clean repair is to rejoin the pieces with a reversible adhesive, aligning them exactly, so the fossil is whole again with a barely visible join. Filling missing sections is more involved and more controversial: museums and honest dealers do it only when necessary, use materials that can be told from the real fossil, and disclose it. The two rules that matter are reversibility (a future conservator should be able to undo the work) and honesty (restoration should always be disclosed to a buyer). Heavy, hidden restoration that passes filler off as original fossil is both bad practice and, when selling, dishonest. If you are restoring a valuable specimen, a professional preparator is the safe choice. When buying, always ask what restoration a fossil has had, our mammoth tusk value guide explains how restoration affects value.
When to stop and call a professional
Call a professional fossil preparator when the specimen is valuable, fragile, embedded in hard matrix, or actively falling apart. Knowing when to stop is the mark of a good collector, not a failure.
The DIY methods above suit sturdy, already-exposed fossils that need light cleaning. But some jobs genuinely need a professional: removing a fossil from hard rock matrix, cleaning a rare or valuable specimen, stabilising something that is crumbling, or repairing an important piece. Professional preparators have the tools, the experience, and, crucially, the judgement to know how far to go. The cost of professional preparation is small next to the value of a specimen you might otherwise destroy. There is no shame in leaving a fossil to an expert; the shame is in wrecking a fossil that survived tens of thousands of years because you were impatient with a power tool.
Removing matrix from a fossil
Matrix is the rock or sediment a fossil is embedded in, and removing it is the trickiest part of fossil cleaning, because the line between matrix and fossil is not always obvious. Go slow, work under good light, and stop at the fossil surface.
Soft matrix, clay, loose sediment, dried mud, often comes away with a soft brush, water and gentle picking with a wooden tool. Work from the fossil outward, easing material away rather than digging towards the specimen, and keep checking where the matrix ends and the fossil begins. Hard matrix, solid rock, is a different problem entirely: it does not brush off, and removing it needs the advanced tools covered below, along with the skill to use them. Many collectors leave hard matrix in place, or remove only what is needed to show the fossil, because the matrix can support a fragile specimen and because botched matrix removal ruins fossils. When matrix and fossil are similar in hardness and colour, the risk of removing fossil by mistake is high, and that is a job for a professional.
Using a consolidant: a practical how-to
A consolidant stabilises fragile fossil by soaking in and hardening, and using one well comes down to choosing a reversible product, thinning it enough to penetrate, and applying it in stages. Done right, it saves crumbling specimens; done wrong, it leaves a shiny plastic coating.
The principle is penetration, not coating. A consolidant thinned with the right solvent soaks into porous, flaky fossil and hardens inside it, binding the material together from within. Applied too thick, it sits on the surface as a glossy film that looks wrong and is hard to reverse. Apply it thin, let it soak in, and build up in light coats rather than one heavy one. Use a reversible consolidant, the paraloid-type resins conservators favour, rather than permanent glues, so future work is possible. And test on a hidden area first, because some consolidants darken a fossil. For a flaking mammoth tusk or crumbling bone, consolidation is often more useful than cleaning, and for a valuable piece, a professional will choose and apply the right product for the material.
Advanced fossil preparation methods
Advanced fossil preparation uses air scribes, air abrasives and acids to remove hard matrix, and every one of these methods can destroy a fossil in the wrong hands. This section is to help you understand the methods, not a licence to try them on a good specimen.
Air scribes are miniature air-powered chisels that chip away hard matrix under magnification. Air abrasive units blast a fine powder to erode matrix from delicate surfaces. Acid preparation dissolves certain rock matrices away from acid-resistant fossils, a slow, hazardous process needing protective equipment and careful control. These are the real tools of professional fossil preparation, and they produce the stunning specimens you see in museums. They also require training, the right safety gear, and hours of patient work. If you are serious about learning them, start on worthless practice specimens, read widely, and accept that you will ruin some fossils while learning. Never learn on a specimen you care about. Institutions like the Natural History Museum employ specialist preparators precisely because this work is so demanding.
Fossil cleaning mistakes that ruin specimens
Most ruined fossils are ruined the same handful of ways. Avoid these mistakes and you will keep your specimens safe.
- Soaking a porous fossil. Water penetrates and cracks porous material like tusk and bone as it dries. Keep water minimal and gentle.
- Using acid without knowing the fossil. Acid dissolves the wrong specimens completely. Never use it without knowing exactly what you have.
- Power tools on a good specimen while learning. Air scribes and abrasives destroy fossils fast. Learn on scrap first.
- Drying too fast. Heat and direct sun crack fossils. Dry slowly at room temperature.
- Scrubbing hard. Stiff brushes and metal tools scratch surfaces. Start soft and stay soft.
- Over-cleaning. Removing every trace of matrix often removes fossil detail and value too. Stop when the fossil shows.
- Hidden restoration. Filling and disguising damage without disclosure ruins trust and value. Keep repairs honest and reversible.
Avoid these seven and you have avoided almost every way a fossil gets destroyed in cleaning.
How cleaning affects a fossil’s value
Cleaning can raise or destroy a fossil’s value, and the difference is entirely in how it is done. Skilled, honest preparation adds value; over-cleaning and hidden restoration subtract it.
A fossil that is well prepared, with matrix removed cleanly to reveal the specimen, and stabilised properly, is worth more than the same fossil left dirty and fragile, because it shows its features and will last. But a fossil that has been scratched by hard tools, dissolved by careless acid, or over-cleaned until detail is lost is worth far less, and the damage cannot be undone. Restoration cuts both ways too: honest, disclosed, reversible repair preserves value, while hidden filler that disguises damage destroys both value and trust once discovered. The lesson for collectors is to clean conservatively and document honestly, and the lesson for buyers is to ask exactly what has been done to a fossil. Our mammoth tusk value guide explains how condition and restoration set a specimen’s worth.
How to store fossils after cleaning
Store cleaned fossils somewhere dry, stable, out of direct sun, and cushioned so they do not knock together. Good storage preserves the work you just did and keeps specimens sound for decades.
Keep fossils away from damp, from big swings in temperature and humidity, and from direct sunlight, all of which stress old material over time. Cushion specimens in acid-free tissue, foam or padded trays so they do not rub or knock, and store fragile pieces separately rather than piled together. Label specimens with what they are and where they came from, which protects their value and their story. For display rather than storage, our fossil display and mounting guide covers cases, stands and cradles that protect fossils while showing them off. Good storage is quiet, unglamorous, and the single best thing you can do for a collection’s longevity.
Buying fossils that are already clean
The easiest way to skip fossil cleaning entirely is to buy specimens that are already properly prepared and stable. A good dealer sells fossils that are cleaned, conserved and ready to display.
When you buy from a specialist, the cleaning and stabilising is already done, correctly, so you get a sound, display-ready specimen with no risk of damaging it yourself. Ask whether a fossil has been cleaned, consolidated or restored, and a reputable seller will tell you honestly. This is the safe route for anyone who wants beautiful fossils without the risk of learning preparation on a specimen that matters. Our woolly mammoth tooth and woolly mammoth tusk collections offer genuine, properly prepared Ice Age specimens, documented and ready to display, shipped worldwide in secure, insured packaging.
Frequently asked questions
How do you clean a fossil?
Start with the gentlest method: a soft, dry brush to remove loose dust. If the fossil is sturdy and non-porous, you can clean gently with a soft brush and clean water, then dry it slowly. Use soft wooden or plastic picks for stubborn dirt, and stop as soon as the fossil shows its features. Avoid soaking porous fossils like tusk and bone.
What tools do you need to clean fossils?
For most fossils, only soft brushes, clean water, wooden or plastic picks and a soft cloth. Specialist fossil preparation tools like dental picks, air scribes, air abrasives and acids are for hard matrix and advanced work, and they can destroy a fossil in inexperienced hands.
Can you clean a fossil with water?
You can clean sturdy, non-porous fossils gently with water, but you should not soak porous or fragile fossils like mammoth tusk, bone or crumbly specimens, because water penetrates and cracks them as they dry. Test a hidden area first, and keep water to a minimum.
How do you clean a mammoth tusk?
Very gently. Dry-brush loose dirt and avoid soaking, because water can penetrate the layered ivory and split it as it dries. Dry slowly, never near heat or sun. If the tusk is flaking or unstable, it needs stabilizing by a professional rather than cleaning.
When should you not clean a fossil?
Do not clean a fossil aggressively if it is valuable, fragile, or already showing its features. Over-cleaning removes detail and value, and many collectors prefer an honest, lightly cleaned specimen. When a fossil is embedded in a hard matrix or crumbling, leave it to a professional preparator.
What is fossil preparation?
Fossil preparation is the skilled work of removing the rock matrix and stabilizing a fossil so its features are revealed and it is sound to display. It ranges from gentle cleaning to advanced techniques using air scribes, air abrasives, and acids, and the advanced methods require training and the right equipment.
How do you preserve a fossil?
Preserve a fossil by stabilizing fragile material with a reversible consolidant where needed, then storing it dry, out of direct sun, away from humidity swings, and cushioned against knocks. Good storage does most of the preservation work and keeps a fossil sound for decades.
Clean less, preserve more
The secret to fossil cleaning is restraint: start gentle, stop early, and never reach for an aggressive tool on a specimen you care about. Most fossils need only a soft brush, and the ones that need more usually need a professional. Get that balance right and your fossils stay sound, honest and valuable.
Would rather skip the risk? Buy fossils that are already properly prepared. Our woolly mammoth tooth and woolly mammoth tusk collections offer genuine, cleaned, display-ready Ice Age specimens, documented and shipped worldwide in secure, insured packaging. To learn more, read our complete woolly mammoth guide and our fossil display and mounting guide. Questions about a specimen? Message us on WhatsApp, we are happy to help.